Showing posts with label Quilling. Show all posts

Thursday, March 20, 2014

Sold most of the cards!

Thank you so much guys , I managed to sell almost all the cards .... Very very happy :)
Here's what I sent out ...


There was one customer who ordered four cards, I was all yayyyyyy and sent her a pair of my handmade quilled earrings as a thank you !


P.S. Finding envelopes the right size for the cards I make , whew , I went searching in the gullies of Commercial Street to find them .. I considered professional paper cutters and what not . It's tough cutting cards and making envelopes (read, it's comparitively boring than making whats on the card :D ) Someone find me a way please ! 

Monday, February 10, 2014

Cards for Sale

Well, here's a first for me, I put up cards for sale on myths-creations.itshandmade.in. I had planned to make in on the love theme to time it for Valentine's nothing too sappy of course and I rather like the stuff I came up with if I say so myself :)
Of course its almost all quilled cards, I finally used the stamps my brother gifted me(thanks bro!) , a little bit of doilies and I finally found a way to get text on my handmade cards. I am so jealous of all the crafters who have amazing writing skills and don't need to think twice !
Wish me luck!


Friday, December 20, 2013

Quilling in Photo Frames with Names

So, I made 2 quilled items in photo frames with the names of 2 little girls for their birthdays.
The 1st one I used Alphabet stickers and managed to finish it in less than an hour.  Yup, as I was putting on my sandals for leaving to the party, I was trying to get the frame into wrapping paper !!


The 2nd one was a little more pre-planned. I got a photo printed with just the name on it as text, put it into the frame and then quilled on it. The flowers were inspired from Inna's Creations' Wild carrot flowers, though of course as usual, they look nothing like the original:)) Making all those curls is time consuming, looking at the picture, we might not realise.


Weirdly enough, I did not get feedback from both parties about these gifts :(  I do hope they liked it though ...


And this last one was at my sister's request for her friend. I've tried quilling a pink and gold orchid. The orchid, I think looks nice. Not too happy about the look on the frame though.


Thursday, May 2, 2013

A small thank you for Sylvia


 Hubby's boss is a sweet heart, she turned up with loads of stuff for our baby :) Here is a small thank you card I made for her ..
And turns out she liked it enough to keep it on her refrigerator at home ! yayyyy !

Tuesday, March 19, 2013

Quick and Easy Gift Tag Decor

Takes under 10 minutes to make that extra something to make your gift wrapping pop. Not that most people notice though :( But when they do, oh joy.


These 'flowers' are from a tutorial that I don't remember the source of, I saw it really long ago. They are similar to the Martha Stewart crafts tutorial but with multiple colours ..


Just a very simple quilled flower (if you will) added to the gift tag.


Monday, July 16, 2012

Digital Letters Quilled Nameplate

This one is for one the nice guys - Chethan, who helped hubby during the handmade items sale as a thank you :)


Saturday, July 14, 2012

Quilled Nameplate for our Anniversary

Here's a step by step of my latest quilled creation :) A nameplate of blue and yellow quilled letters and yes, it like a little jungle with lots of animals :)) And yup, I know it looks like it has been made for a kid :))
I kept to basic quilling shapes for filling up the letters and tried to find an animal for each letter, well at least as close as I could manage :) 

Step 1 : Create the letters. 


Step 2 :  I traced out the letters onto the canvas / card and stuck the quilling paper along the edge vertical (as opposed to flat on the card) 

Voila, all the letters done ! 


Step 3 : Make quilled animals for the letters ... This was the fun bit ! 

V for Wolf ( or Volf?  he he , close enough)  Didn't quill this one though. 
The filling in the V is with quilled cubes / squares with alternating blues, yellows and creams.

N For Neelu ( creative license in using the Telugu translation for Water here :) ) So, the quilled crab and quilled fish are the sea creatures. 
The N is filled with crimped quilling paper cut and stuck vertically. And since it was looking too blue, I put in some yellows free style ;) 

And O is for ....... the wise Owl !
Filled with double sided quilled loops.

D is for my cute little flame breathing Dragon. The dragon by the Fairy Card Maker was my inspiration to do this in the first place. Here's to my fantasy fiction, dragon fan hubby - Happy 50th Monthiversary Hubby !


Wolf Closeup

For my sea-side hometown hubby, Quilled Fish in water closeup

Quilled Loopy Crab and air bubbles in water closeup

Hoot hoot the Quilled Owl for my super smart Hubby

Quilled Dragon Closeup

And here it is all done !

:) It took quite a bit of time to make all those fillers and come up with the idea. Hope my hubby likes it :) 

Tuesday, July 10, 2012

Quilled Flowers Birthday Card For Mom

For my mom's birthday this year, I wanted to quill her something really beautiful. The original plan was to be a garden of flowers :) ( I do have that thought still running in my head, I just may have a garden of quilled flowers hanging on my wall someday :) ) I did keep the core of the plan which was to create as many types of flowers as I could and given that my mom loves yellow , the color theme was yellow. I did add some blues to it, to bring out the yellow and it does look like the blues made the whole piece brighter. 

I did do a lot of scourging the net, searching for all sorts of quilled flower tutorials. It is amazing the number of super talented people out there making such beautiful creations :) And all with just paper. Who would have thought ! 
Thank you guys, you made it possible . And a real big thanks to the internet and Google which is the only reason I chanced upon this art form of quilling that fascinates me endlessly :) 

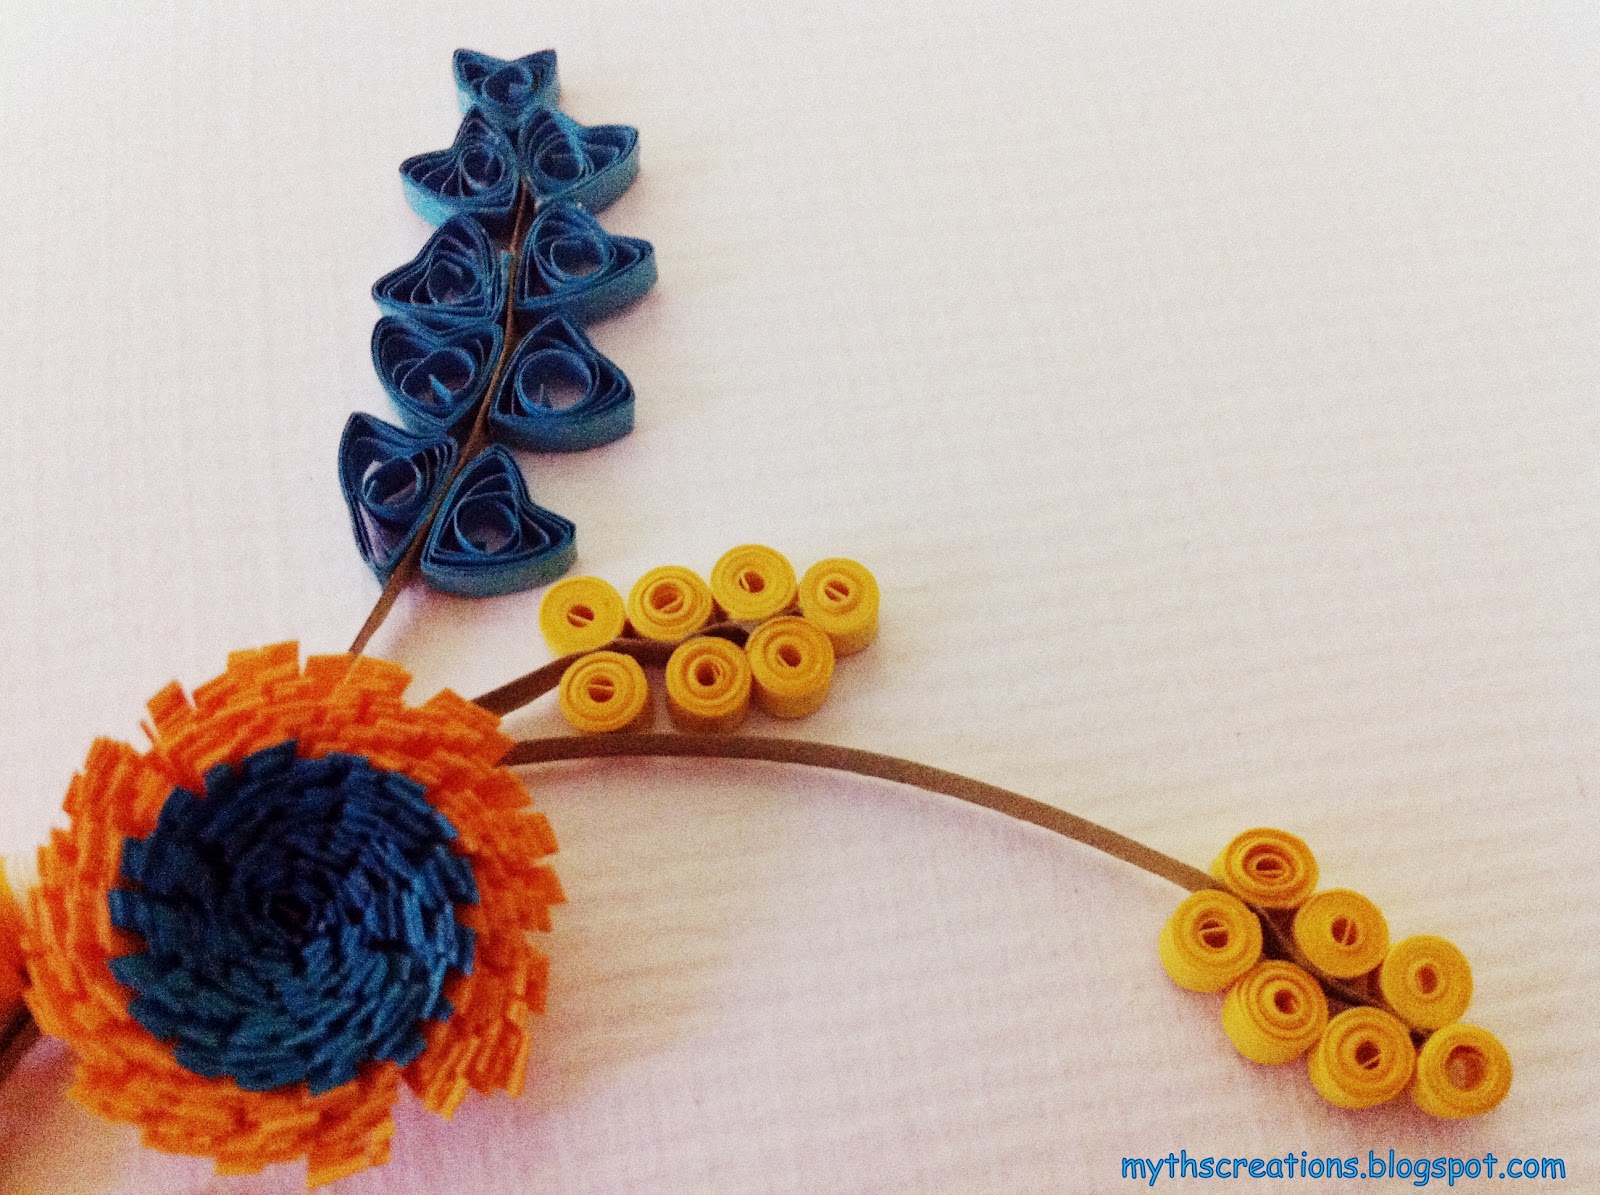
So , I ended up making the 'Royal' Flower, the Malaysian Flower, Fringed Flowers, Crimped Flowers, Bell Flowers, little Loop Flowers, little Heart bunched Flowers, a Zinnia (or something close to it :D) , a Vortex Flower, a double-shaded half flower and finally Roses :) I have been meaning to do roses for so long and never found the right way to do, until i stumbled upon Inna's tutorial (who by the way has made like tons of amazing flowers)

THE MALAYSIAN FLOWER - BLUE AND YELLOW

BELL FLOWERS


FRINGED FLOWER AND SOME SORT OF LOOPY FLOWERS ;) 


I wondered how to place all the flowers together on a empty canvas and I didn't really get it right.


My mom's name is Santha (that translates to Peace in English) , and the bell flowers sat so well on a curve, so I decided to go with a monogram of  paper flowers :) 


And then on, it was placing flower by flower along the curve.


And voila, we have a quilled monogram for S with 12 types of flowers ! Yayyyyyyy

Happy Birthday Ma ! Here's to flowers that will never fade !